Saturday, January 5, 2013

Refinished Bed

I've been wanting to take on a larger more detailed piece of furniture for quite some time now. My husband found this bed at a Garage Sale so we decided to go ahead and purchase it at for my daughter's room. I had a complete before picture but it must have gotten lost in the shuffle. Any way, here it is from mostly start to finish!

It had these awful details on it that I did not really care for. Luckily they were just stapled in so I was able to work them off with a putty knife.

We pulled out the staples with wire cutters and then filled the holes with wood filler. 

You can see the original finish pretty good from these pictures and also how discolored it was after we took the details off.


 We sanded the bed to its original wood finish with 80 grit sandpaper and then to smooth it out we used 100 grit sandpaper. The spindals on the head board were too hard to get to with the sander and were just getting ruined so I decided to take my chances and just left them alone to paint over without sanding them at all.

My daughter wanted a black bed so we got a quart of Behr black paint in satin enamel finish (Didn't want it to be too shiny) and painted one coat, let dry for a couple of hours and painted another coat and let dry for a complete day. The spindles held the paint very well after the first coat.


Here is a picture of the finished product without pillows and a picture of it with. It's a simple little bed and my daughter loves it! It was super easy to do and a great first project as far as big furniture is concerned.


Friday, July 13, 2012

Make Your Furniture POP!


Currently the house I live in is a rental so there isn't much I can do in the decorating department because I don't want to have to fill holes or repaint when I leave so my decor is minimal. I saw maybe in a magazine the suggestion to paint the insides of a cabinet to give it a POP of color. I have this huge white armoire that I knew would be perfect for this type of treatment! With the help of Hubby, we took the slider doors off and took the shelves out so those too could be painted on all sides.


I picked the Benjamin Moore Color in Tropicana Cabana. It is utterly disgusting how much I love this color and it can be quite an overwhelming color but when used in little spots and spaces it is perfect for creating a unique piece. Make sure you dust and clean the area you are painting and make sure it is completely dry before you start to paint. I used two coats and did not sand at all. I used a ultra smooth roller and went to town.


After I put all my books and stuff back in the cabinet, the color didn't show as much as I wanted it to so I decided to take the slider doors back off and just leave it open. With the area being as small as it is, I love being to see the color over the dining room table and I now have a new project...
Making some sort of picture frames out of the slider doors!!

Saturday, June 30, 2012

Old Chairs Made New


My old super ugly fabric on the chair (ew, look at the stains!)
Ok, let me just start off by saying that my chairs look like crap! I have kids and they destroy everything! I have reupholstered chairs once before on an old table but I never learn my lesson and I forget how simple it is to recover chairs so they sit looking very disgusting for a long time before I think, "Hey dumb-dumb, your chairs look like people puke all over them daily and you either need to schmooze your husband for new ones or you need to fix them." I do not schmooze anyone, ever! So... off to Joann's I go!
These are the tools I gathered. A hammer, staple gun (that thing was legit!), 2 flathead screw drivers (one for me, one for Ruthie), 2 socket thingies to take the seat off the chair (yes I took the entire chair apart before I realized I just needed to take the seat off. Ruthie laughed at me) and pliers.


First, unbolt the seat from the chair frame. Underneath if there is a black piece of fabric stapled to the chair, remove the staples with the flat screwdriver and pliers very carefully. You can salvage this piece to reuse.


After you remove the black fabric, you will uncover the stapled on fabric that you will be changing out. I suggest that you remove all the staples from this fabric too because it just makes for a cleaner restart point with your new fabric. It is tedious but worth it. You can also remove any tags from the chairs as well. I doubt the police will come knocking at your door.
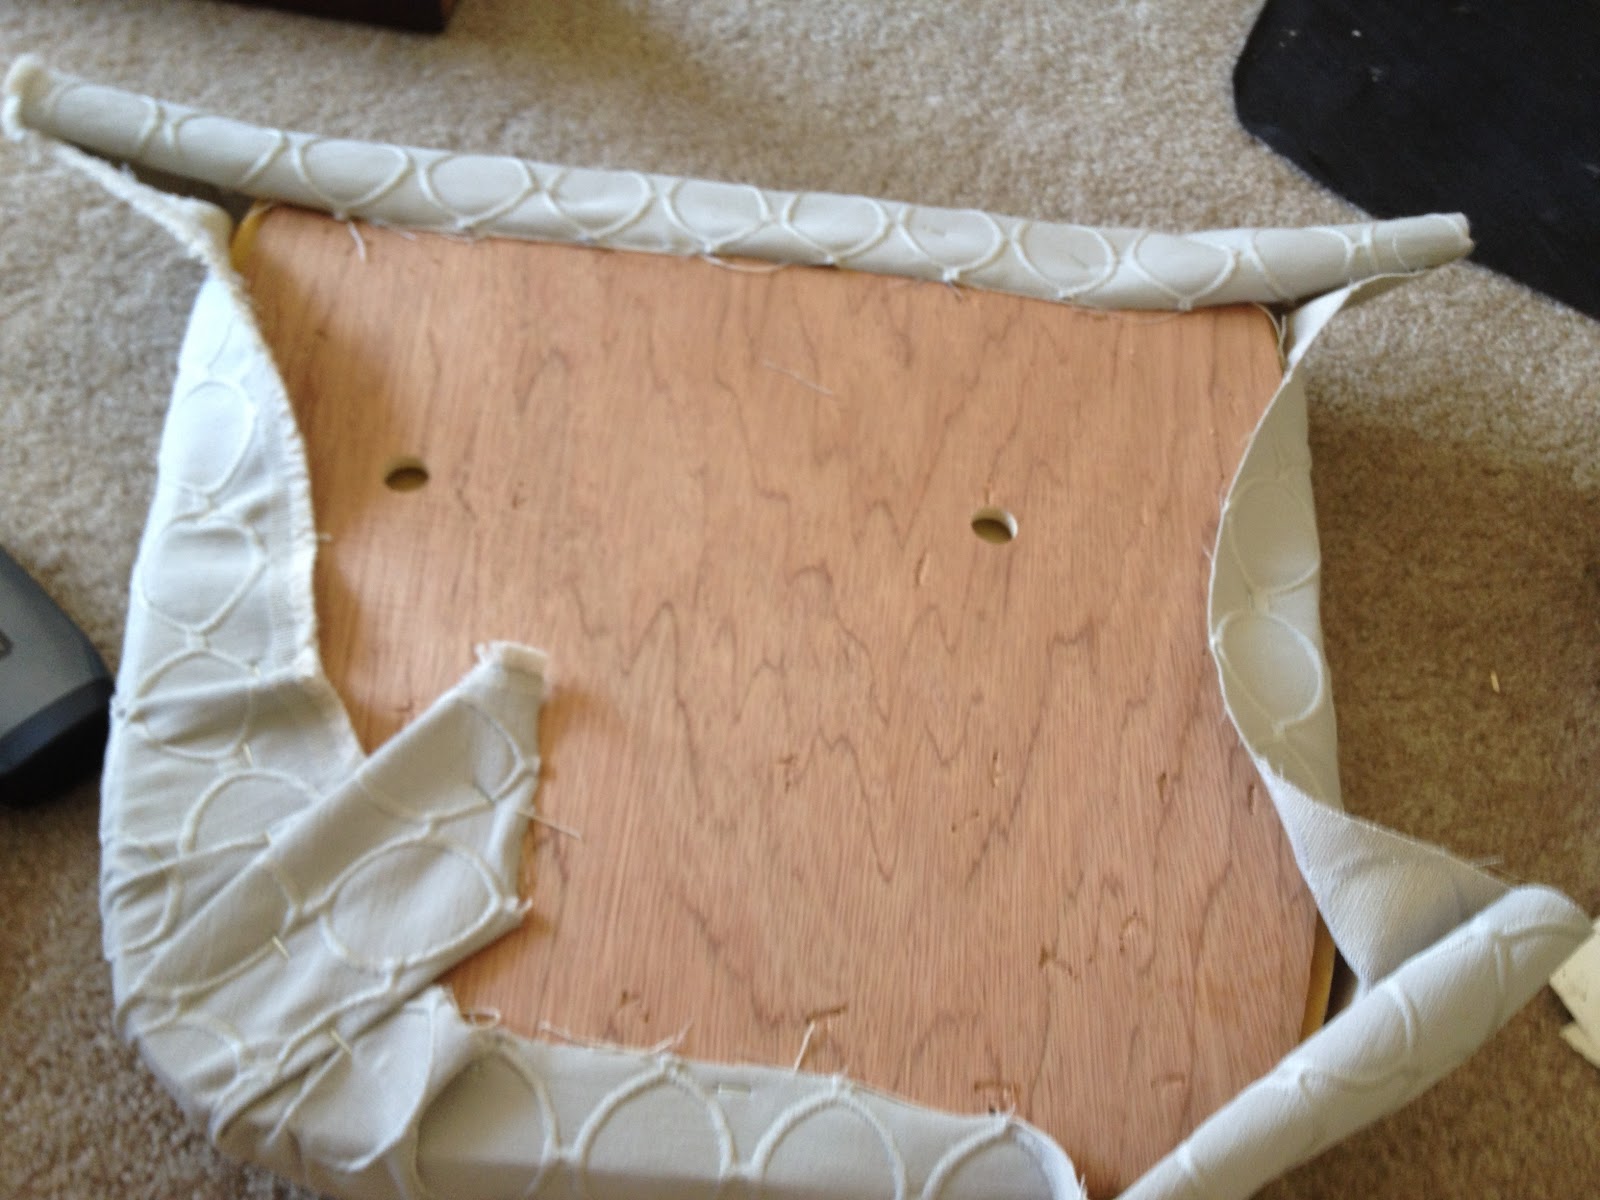
This is what your chair will look like once all fabric and staples are removed most likely.  Just a foam shape and a wood board. Measure the old fabric from that chair and then you will know how much fabric to buy.
 Now for your fabric, go to a store that sells upholstery fabric and find something you like or can deal with until something better comes along. I got my fabric at Joanns and it was 50% off. I'm not in love with it but it makes me happy so I'll live. I have 8 chairs and I needed about 2 square feet of fabric per chair. I precut each piece before I started. Place the foam and wood board in the middle of the fabric and pull taught on one side and staple and then pull taught on the opposite side and staple again.
 Work your way around the seat pulling taught and stapling. When you get to the corners you might have to work some magic with the corners but if you are as OCD as I am you might be able to make it look pretty good with the least amount of creasing.
 After you finish stapling the fabric securely all the way around, take the black fabric (sans tags) and re staple to make your finished seat look clean and professional.
Reattach the seat to the chair frame and voila! You have a brand new set of chairs at about the cost it would to replace just 1 chair (in my case $80). Now for the big question.... Should I let the children sit in these chairs or just let them feed outside like the other wild animals?

This project took Ruthie and myself about and hour per chair.

Oh and be careful when removing the staples.....

Table and Chair

My Partner in Crime is one of my best friends, Ruthie. She hates this picture but I love it...

After I did my pallet table, Ruthie was given this super cute table and chair. We got some sanding paper and used my husband's crappy sander to get some of the old pain and stains off. I think it's a beginners sander for maybe a small child because the sandpaper kept coming off. We ended up sanding it by hand mostly. Good thing it was a small table and chair!


She bought a small container of the Martha Stewart paints you can get at Home Depot in a Metallic Gold and a Bronze. We painted the chair in Bronze and the seat in Gold and painted the table in the Gold and details of the table in Bronze. The table got 2 coats of paint and it covered beautifully. The chair we only did one coat of the Bronze because Ruthie wanted a little of the old Antique Red color to show through.


This table and chair turned out so freaking cute I can't even believe it! In the picture you can't really see the reddish tones on the chair but in person you can and it looks fantastic!

This small project took us about 6 hours start to finish over the course of a couple of days. After we sanded the table we wiped it down with a damp towel and let it sit overnight to dry out. Then we painted and let it sit for an hour or so between coats to dry.

I tried to get a picture of her sitting at the table but she refused... Oh well...


Pallet Table

So my first post is a table I saw posted on Pinterest.


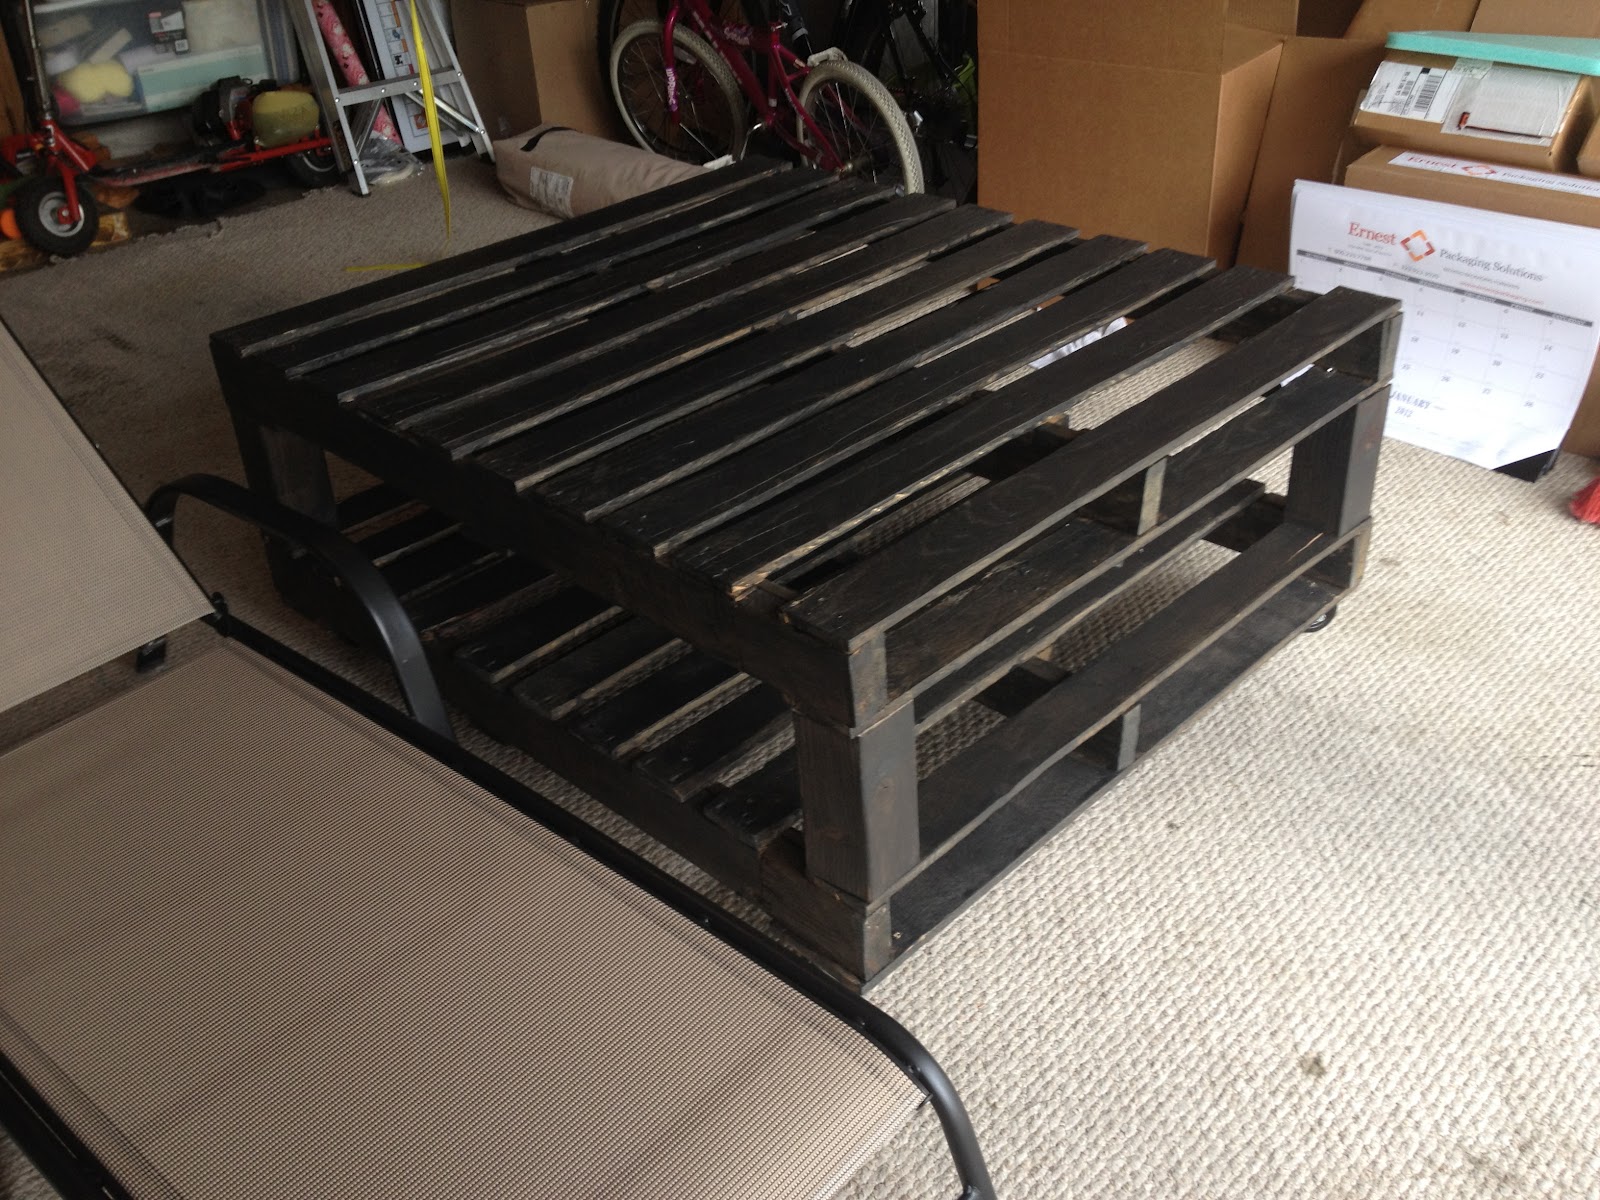
I didn't really have any thoughts on starting a blog at this point so here was my finished product. The supplies I used were sandpaper, 2 pallets, casters (large ones) and 4 x 4 wood cut into 8 inch pieces and a wood stain in whatever color you would prefer. (When you go to buy the wood at Home Depot, or any other home improvement store, check the scrap pieces before you just buy a brand new piece because they heavily discount the scrap wood). My husband did sand the pallets before staining. He has an awful sander that I think he got out of one of those claw machines at the arcade.


I got the lounge chairs from Target on sale so that made my day even better!