Showing posts with label old. Show all posts

Monday, March 25, 2013

Craft Table to Coffee Table


When my kids were little we bought them this beautiful craft table from Pottery Barn. It had one of those paper holders that would hold a spool of craft paper and drawers to hold crayons and stickers. It was fabulous! But then my kids got taller and older and the table just sat outside for years collecting dust and dirt and spiders. My daughter would play with bugs on it and carve her name in to the paint. My husband stored the dog food container on it. It was a mess! I really wanted to salvage it somehow because it was high quality but just didn't know what to do with it. Finally I thought, it's either going to get new taller bulkier legs and become a desk or get shorter legs and become a coffee table. Well the coffee table one because we already have a crappy desk but not a coffee table.

Here is the sad little craft table before.

We wiped it down and other than just being really dirty (the wood wasn't even rotted at all!) and shooing some spiders away, it was in great shape!


We purchase some coffee table legs from Lowe's and took the old legs off the table.
My husband made marks on each spot where the new hardware needed to be drilled in (this made it a ton easier). He had to sand the corners of the legs just a bit to get a flush mounting.

He used the same hardware from the old table legs so that save us some $$!

I sanded the table top and the sides and the front of the lip with my circular sander and paper with grits ranging from 80 to 220. The paint was a little hard to get but we just kept at it with the 80 grit until it came off. The rest of the sanding was pretty simple and since the legs were wood we didn't sand those at all. I decided to paint the legs and the lip of the table Revere Pewter from Benjamin Moore. We just got 1 quart which was more than enough with 2 coats of paint. I highly recommend just getting a sample of paint because it is super cheap (usually $3 or less in a 1/2 pint and they are right on the paint counter and they will mix in your color for you) and with a small project like this I barely used a quarter of a cup out of the whole quart of paint. I am the type of person who HATES having a bunch of paint cans in the garage! I never end up using them again.

The tops of the legs had predrilled holes in them so my husband put hooks in them so after I painted them we could hang them to dry in the garage. After I painted them with 2 coats of paint, I spray painted a clear gloss over them. I don't really know what I was doing, I just wanted to put a coat to get them a little shiny and protected and luckily it worked out. I let the legs hang dry for a couple of days while I worked on the table top.


 We flipped the table top over and taped off the areas to be painted. I just painted the front and sides and just right underneath. I painted the fronts and sided of the drawers separately and let them sit off to the side to dry. These as well also got 2 coats of the paint. After the bottom had dried for about a day, we flipped the table top and stained.


We used Rust-Oleum Wood Stain in Black Cherry (1/2 pint) and Rust-Oleum Polyurethane in Satin Finish (1/2 pint). We also used Paint and Staining Cloths for the stain. They worked really well and did not get lint in the stain at all. So this was my very first time staining and let me tell you, I was NERVOUS!! Also excited! So excited, I didn't put gloves on. (Duh!) Stain is super messy and sticky. But I just poured a little of the stain on the table and wiped with the grain of the wood. Since the table was a cluster of wood pieces there wasn't really a grain rhyme or reason so I just rubbed it on and added more as I went. I also did the lip edge of the table.

This stain is a 1 coat process. After you get it all on, you wait 10 minutes and then wipe off any excess that hasn't soaked in. The color was freaking glorious! I was super stoked! Then it was time to put the polyurethane on (instructions were to do within an hour of staining). This was also really nerve racking for me. I used a synthetic bristle brush and poured a little of it onto a paper plate and went to town. Try your best to get an even coating. The poly will dry within 3 hours and then cure in 7 days which is really fast. There are a couple of spots I messed up on but my hubs and best friend say its just me and probably no one else will notice. The poly was a satin finish so it is not glossy at all. I do like it a lot!

 These pictures were the day after we stained and poly'ed and put the legs on. I mean Seriously! The colors are beautiful!! I couldn't wait to take it inside so I basically tell everyone who comes in the door very sternly, "Don't touch the table!"


 Isn't it Gorgeous! I went to World marked to purchase the knobs and that's that. It's still curing so I haven't put any decor on the table but I have my eyes open for the perfect center piece. The drawers are great because they can hold the TV remotes.


This is it with my whole living room setup. Yes we have only love seats because the house is a rental and it's really old and has tight corners and we cannot fit a full sized couch through the door. My husband has been humoring me by letting me get really cool chairs though. Oh and no artwork on the walls because I'm lazy and trying to get out of here soon. All in all this table took us about a week and probably cost us $80 with the legs, paint, stain and new knobs. It was totally fun and worth it to save this table because it was such a good quality piece.

Until next time...

-Leslye

Saturday, June 30, 2012

Old Chairs Made New


My old super ugly fabric on the chair (ew, look at the stains!)
Ok, let me just start off by saying that my chairs look like crap! I have kids and they destroy everything! I have reupholstered chairs once before on an old table but I never learn my lesson and I forget how simple it is to recover chairs so they sit looking very disgusting for a long time before I think, "Hey dumb-dumb, your chairs look like people puke all over them daily and you either need to schmooze your husband for new ones or you need to fix them." I do not schmooze anyone, ever! So... off to Joann's I go!
These are the tools I gathered. A hammer, staple gun (that thing was legit!), 2 flathead screw drivers (one for me, one for Ruthie), 2 socket thingies to take the seat off the chair (yes I took the entire chair apart before I realized I just needed to take the seat off. Ruthie laughed at me) and pliers.


First, unbolt the seat from the chair frame. Underneath if there is a black piece of fabric stapled to the chair, remove the staples with the flat screwdriver and pliers very carefully. You can salvage this piece to reuse.


After you remove the black fabric, you will uncover the stapled on fabric that you will be changing out. I suggest that you remove all the staples from this fabric too because it just makes for a cleaner restart point with your new fabric. It is tedious but worth it. You can also remove any tags from the chairs as well. I doubt the police will come knocking at your door.
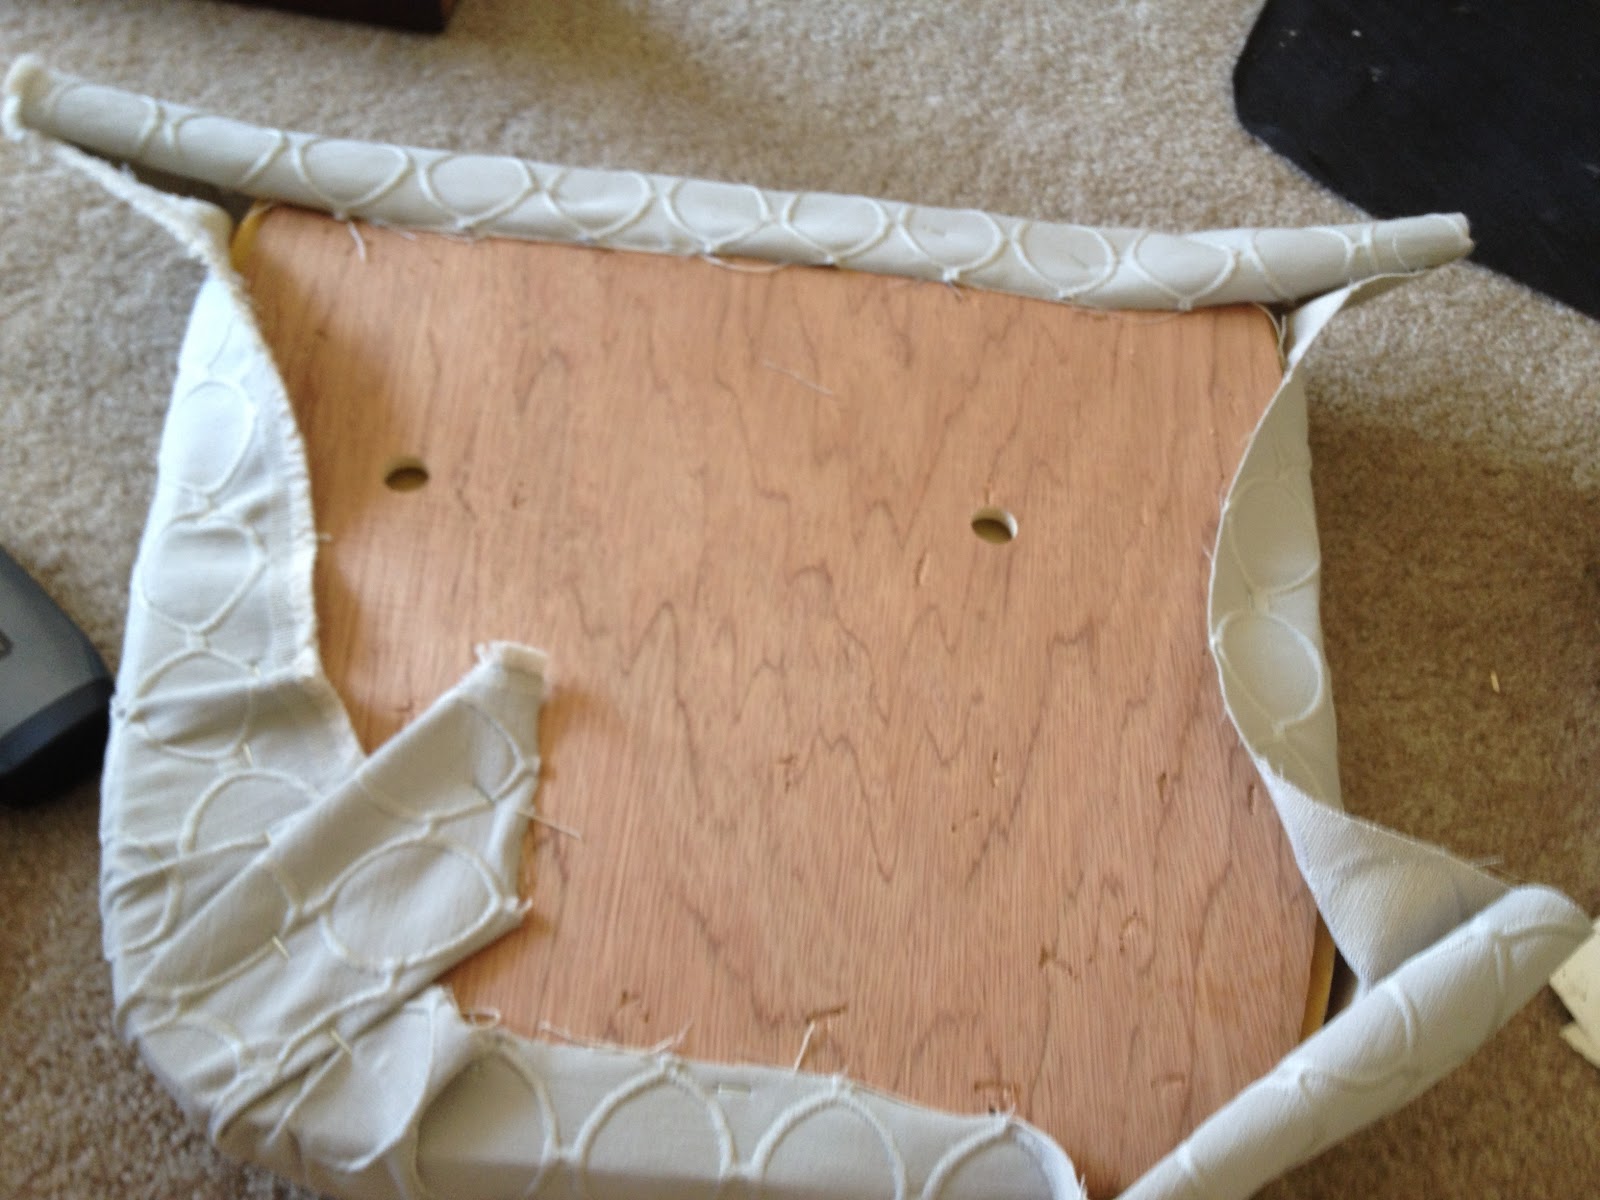
This is what your chair will look like once all fabric and staples are removed most likely.  Just a foam shape and a wood board. Measure the old fabric from that chair and then you will know how much fabric to buy.
 Now for your fabric, go to a store that sells upholstery fabric and find something you like or can deal with until something better comes along. I got my fabric at Joanns and it was 50% off. I'm not in love with it but it makes me happy so I'll live. I have 8 chairs and I needed about 2 square feet of fabric per chair. I precut each piece before I started. Place the foam and wood board in the middle of the fabric and pull taught on one side and staple and then pull taught on the opposite side and staple again.
 Work your way around the seat pulling taught and stapling. When you get to the corners you might have to work some magic with the corners but if you are as OCD as I am you might be able to make it look pretty good with the least amount of creasing.
 After you finish stapling the fabric securely all the way around, take the black fabric (sans tags) and re staple to make your finished seat look clean and professional.
Reattach the seat to the chair frame and voila! You have a brand new set of chairs at about the cost it would to replace just 1 chair (in my case $80). Now for the big question.... Should I let the children sit in these chairs or just let them feed outside like the other wild animals?

This project took Ruthie and myself about and hour per chair.

Oh and be careful when removing the staples.....