So with the bed we purchased that was refinished in my previous blog post, I also got a night stand with it. For awhile I was just going to trash the thing because the top of the dresser was laminate and particle board. Then I thought, I'll get some really cute scrapbook paper and mode podge it to the top and then refinish and paint the rest. The dresser also had these horrible plastic feet in the front and I just really was at a loss as to what to do with it.
Soooooooo, I figured what the heck! If I'm gonna trash it I might as well just try to do something with it.
 Like I said, It had hideous 80's furniture qualities so I decided to take the top off and make it a seat stand. I removed the hardware and put it aside. I actually was going to get new pieces but I'm super excited for what I did with the original pieces so hang tight and you'll see what I mean.
I took a hammer and a flat screwdriver between the top and it came off pretty easily. The finishing screws came out with pliers.
Looks better already right!?


My husband cut me boards to fit along the top back to make the seat as well as a board that would fit as the bench. We nailed in the sides from the inside out and then when the nail was secure in the side, we clipped the extra length and scraped it down with a metal rasp until it was smooth and flush with the wood and then filled the spot with wood filler and let dry for sanding. We added a small wood rail to the top around the edge just to make it look nicer and more complete. I filled the gaps with wood filler as well and let dry. I also took out the rounded separator in the middle of the drawer because I thought it looked cheesy and whenever I tried to sand it I was just flattening it out any ways. (Not a master sander yet!) So far so good! I sanded all sides as best I could and got down to a pretty decent finish. The sides of the nightstand are particle board and so is the drawer front. Yuck! I thought this piece was solid wood but oh well. I don't live in an area rich with cool antique places so I get what I get and I won't throw a fit!

 I painted the nightstand black in the same finish as I did the bed on any part that you could see from looking at it. 2 coats. Oh and when I did the bed, I got only a quart of paint and after 2 coats of paint on the bed and 2 coats of paint on the nightstand, there is still about a quarter cup of paint left. No need to buy a lot of paint on these projects. After I left the paint to dry overnight I went back to the Home Depot and got a sample size of Behr Paint in Oyster to do the distressing. Seriously! It cost about $3 for a sample size and I still have more than half left!!! If you are doing a small project, this is the way to go!


I mixed some glaze and the oyster paint and painted on and scratched off with steel wool let it dry for a bit and then sanded off a little more with a handheld block sander. Oh yeah, I also took the original hardware and spray painted that as well. It turned out so well! After I did the handheld block sanding to distress a little more I liked the way it turned out. Hey, this is my first try distressing anything so I think I'm doing alright. It's not exactly what I pictured but it's a work in progress.
For the drawer, I went and got black and white contact paper and just cut it and stuck it down. Now for the fun part! Picking out the upholstery for the seat cushion. We have a $2 fabric store around so I wen there and fount this really cute bird pattern that both my daughter and I loved! (Even though this is for her room, it's my project and so I wanted a little say in it)

 Cute!
Cute!
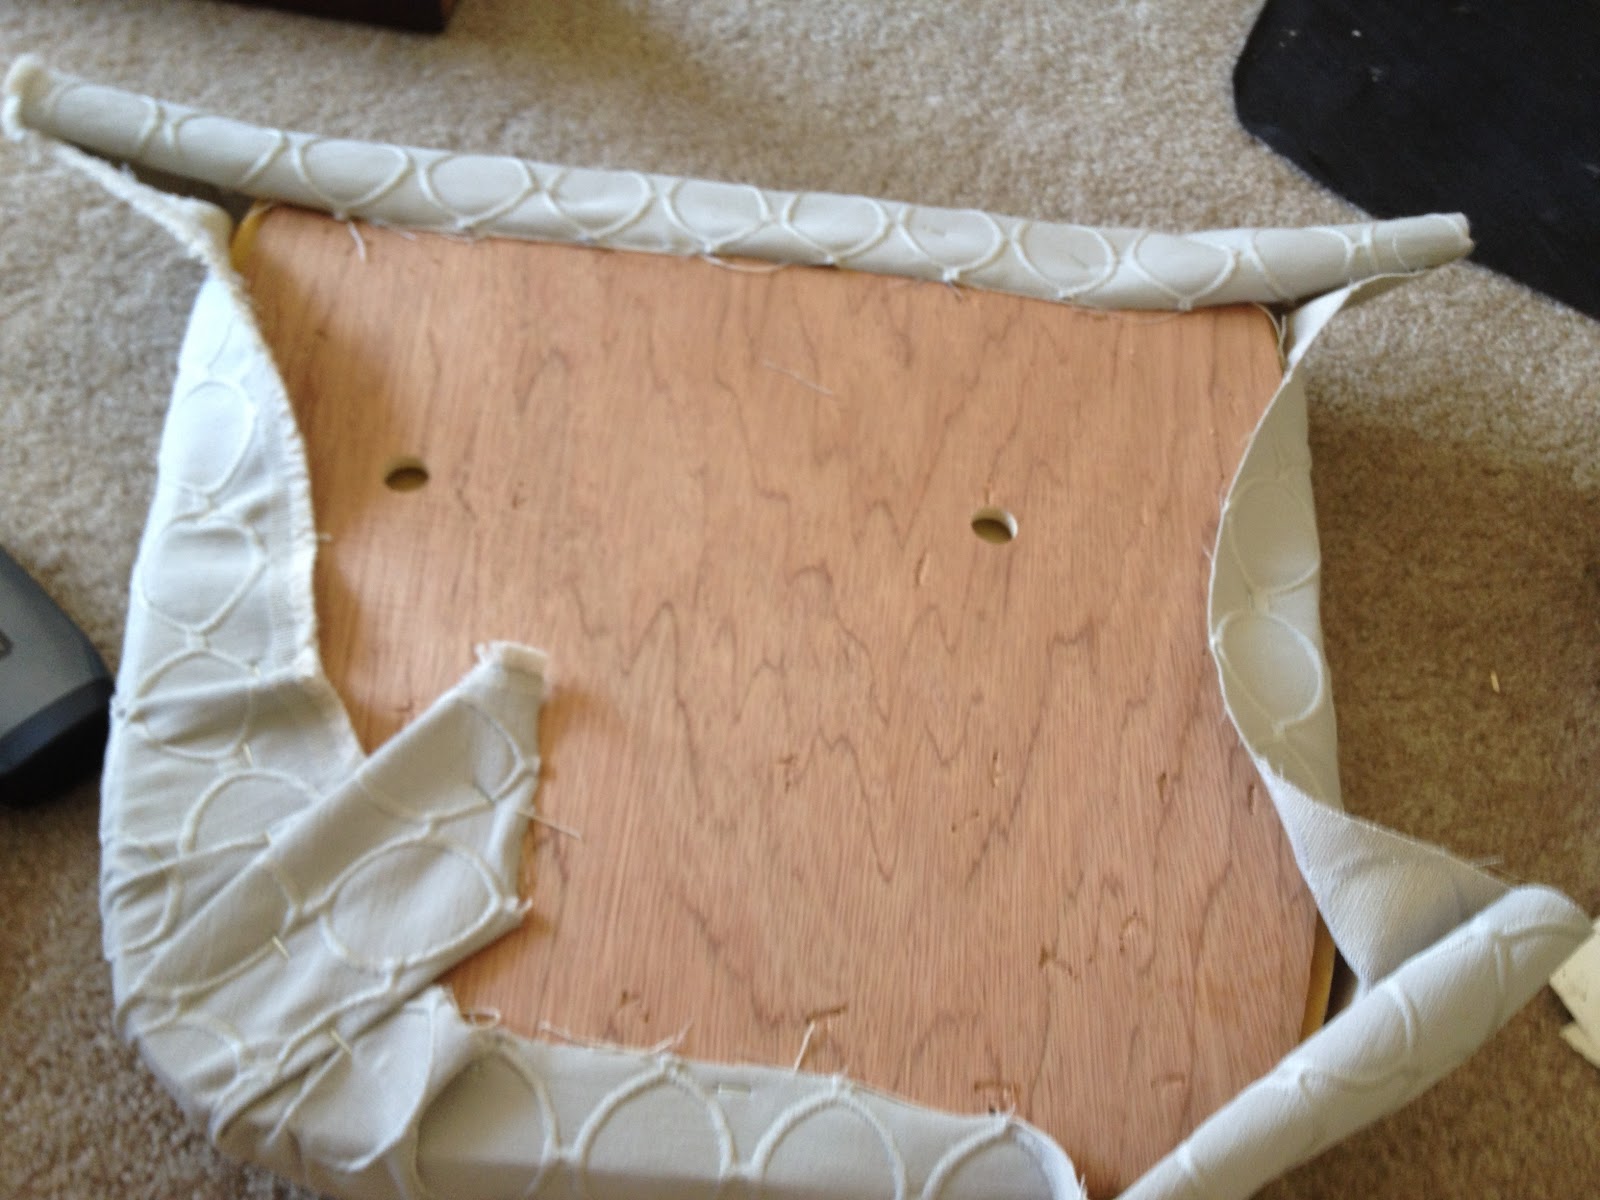
After I had the pattern picked out I got some foam and placed it over the wooden seat board and stapled it just like you would do if you were recovering a chair. (See my chair covering post if you aren't sure)
And that my friends is my finished product! The seat cushion is not nailed down, so if we want to change the fabric out at any time we can. I'm really happy that I did not ditch this piece because of a little hitch with the top because I have a very sturdy seat/nightstand!