|
| My old super ugly fabric on the chair (ew, look at the stains!) |
Ok, let me just start off by saying that my chairs look like crap! I have kids and they destroy everything! I have reupholstered chairs once before on an old table but I never learn my lesson and I forget how simple it is to recover chairs so they sit looking very disgusting for a long time before I think, "Hey dumb-dumb, your chairs look like people puke all over them daily and you either need to schmooze your husband for new ones or you need to fix them." I do not schmooze anyone, ever! So... off to Joann's I go!

These are the tools I gathered. A hammer, staple gun (that thing was legit!), 2 flathead screw drivers (one for me, one for Ruthie), 2 socket thingies to take the seat off the chair (yes I took the entire chair apart before I realized I just needed to take the seat off. Ruthie laughed at me) and pliers.

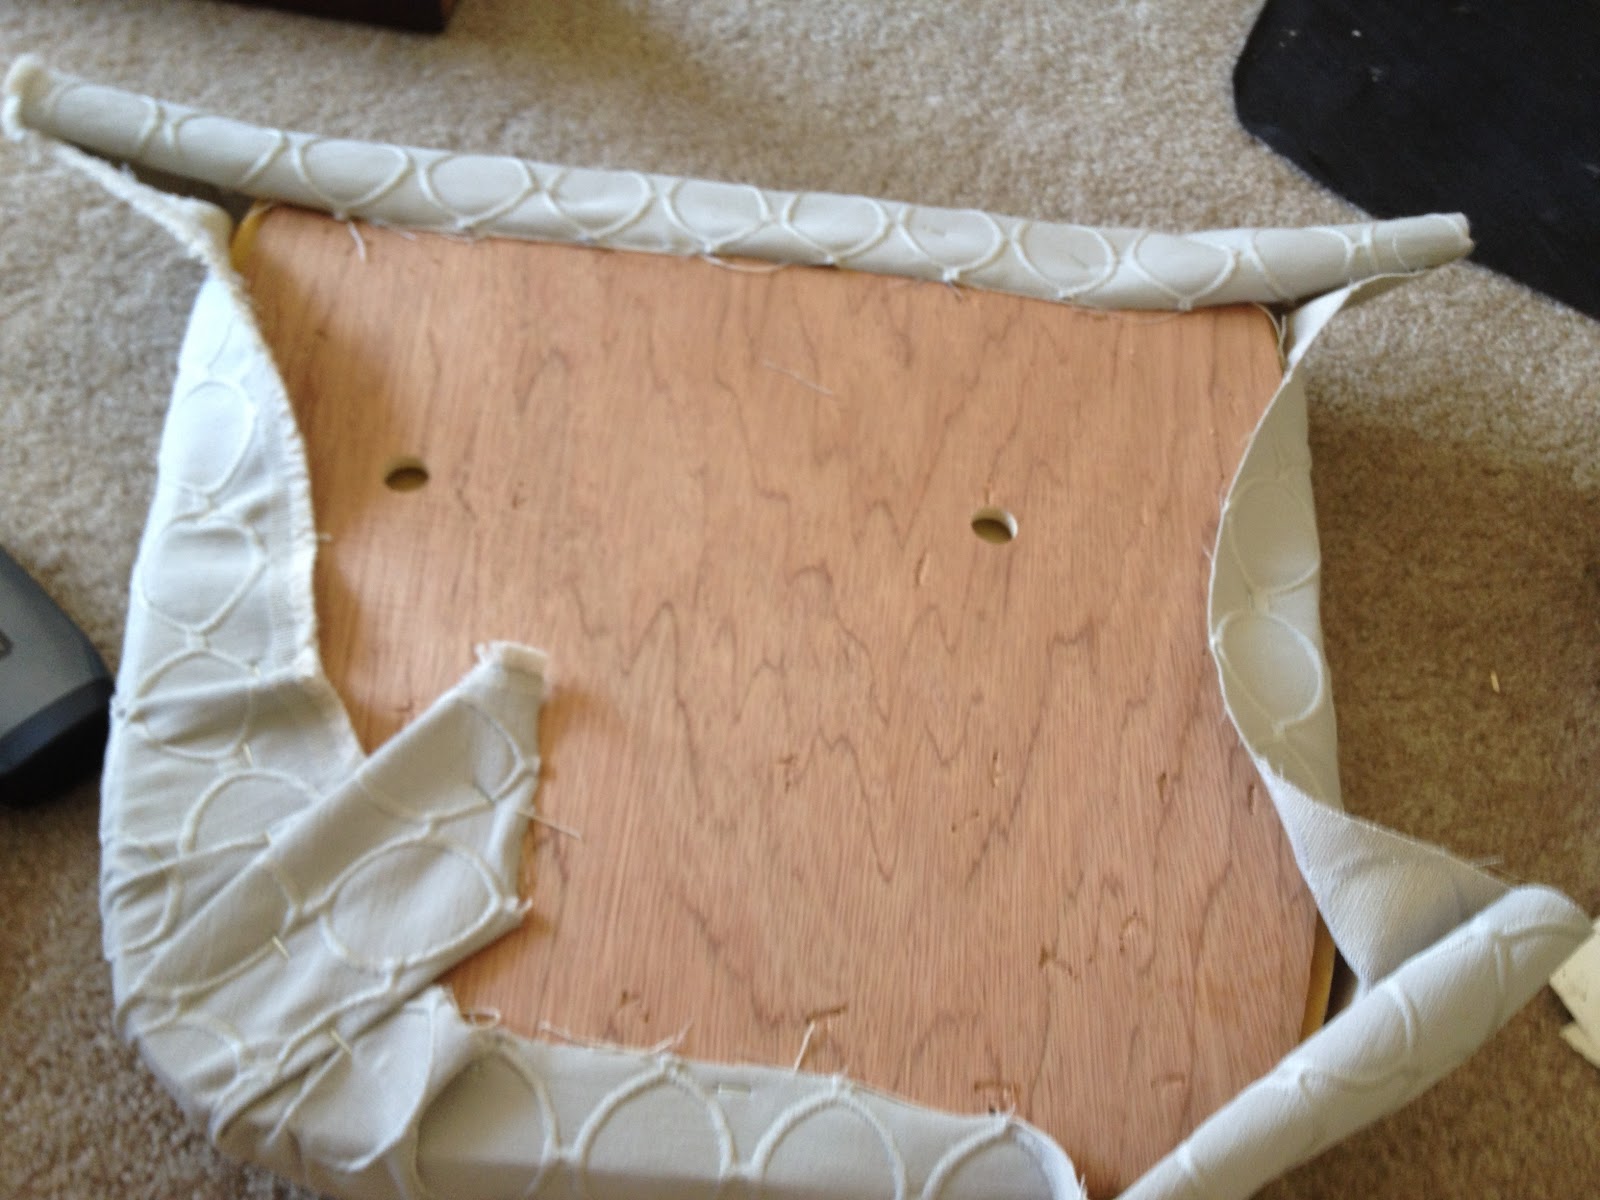
First, unbolt the seat from the chair frame. Underneath if there is a black piece of fabric stapled to the chair, remove the staples with the flat screwdriver and pliers very carefully. You can salvage this piece to reuse.

After you remove the black fabric, you will uncover the stapled on fabric that you will be changing out. I suggest that you remove all the staples from this fabric too because it just makes for a cleaner restart point with your new fabric. It is tedious but worth it. You can also remove any tags from the chairs as well. I doubt the police will come knocking at your door.
This is what your chair will look like once all fabric and staples are removed most likely. Just a foam shape and a wood board. Measure the old fabric from that chair and then you will know how much fabric to buy.
Now for your fabric, go to a store that sells upholstery fabric and find something you like or can deal with until something better comes along. I got my fabric at Joanns and it was 50% off. I'm not in love with it but it makes me happy so I'll live. I have 8 chairs and I needed about 2 square feet of fabric per chair. I precut each piece before I started. Place the foam and wood board in the middle of the fabric and pull taught on one side and staple and then pull taught on the opposite side and staple again.
Work your way around the seat pulling taught and stapling. When you get to the corners you might have to work some magic with the corners but if you are as OCD as I am you might be able to make it look pretty good with the least amount of creasing.
After you finish stapling the fabric securely all the way around, take the black fabric (sans tags) and re staple to make your finished seat look clean and professional.
Reattach the seat to the chair frame and voila! You have a brand new set of chairs at about the cost it would to replace just 1 chair (in my case $80). Now for the big question.... Should I let the children sit in these chairs or just let them feed outside like the other wild animals?
This project took Ruthie and myself about and hour per chair.
Oh and be careful when removing the staples.....

 These are the tools I gathered. A hammer, staple gun (that thing was legit!), 2 flathead screw drivers (one for me, one for Ruthie), 2 socket thingies to take the seat off the chair (yes I took the entire chair apart before I realized I just needed to take the seat off. Ruthie laughed at me) and pliers.
 First, unbolt the seat from the chair frame. Underneath if there is a black piece of fabric stapled to the chair, remove the staples with the flat screwdriver and pliers very carefully. You can salvage this piece to reuse.
 After you remove the black fabric, you will uncover the stapled on fabric that you will be changing out. I suggest that you remove all the staples from this fabric too because it just makes for a cleaner restart point with your new fabric. It is tedious but worth it. You can also remove any tags from the chairs as well. I doubt the police will come knocking at your door.